SMB Network Share
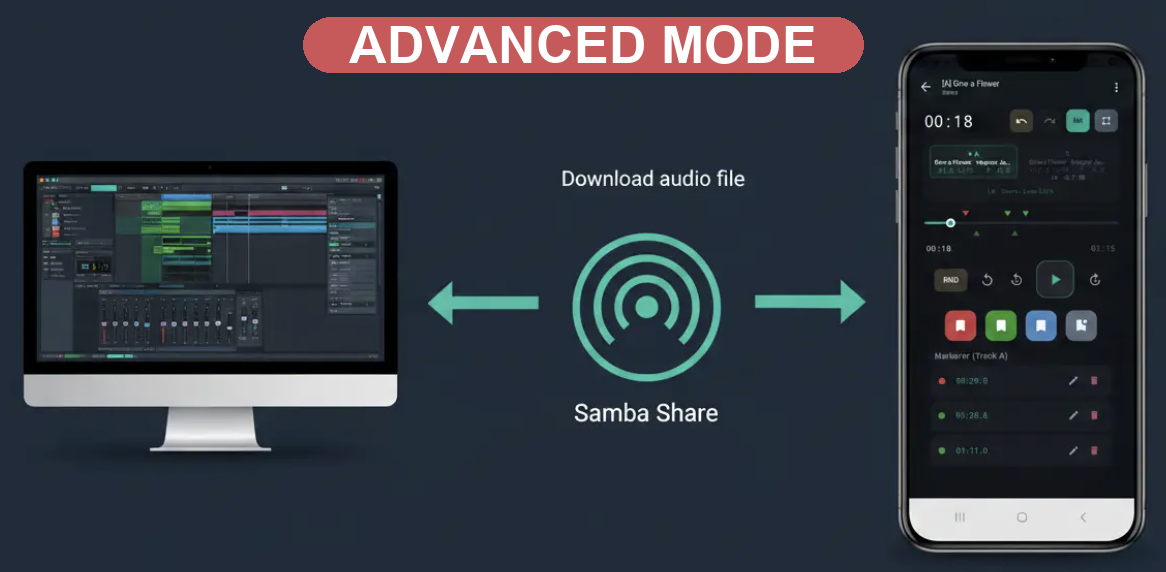
Connect LiveMarks to a shared folder on your studio computer or NAS. Import new bounces straight from the folder, and export WAV files, markers and backups back to it, without cables or cloud services.
In this guide (6 topics) ▸
Before you start#
- The phone and the computer or NAS must be on the same local network.
- LiveMarks supports guest access only (no username or password). The shared folder must allow access without login.
- You need the IP address of the computer or NAS, for example
192.168.x.x. Host names such asstudio-pcare not supported.
Because the share is open to everyone on your network, only use it on a trusted private network (home or studio), and only share a folder meant for LiveMarks, not your whole drive.
Prepare the shared folder#
Create a folder for LiveMarks on your computer or NAS, for example LiveMarks, with a subfolder called Import for files you want to bring into the app. The exact steps depend on your system:
| System | What to do |
|---|---|
| Windows | Share the folder (Properties → Sharing), give Everyone read and write access, and turn off password protected sharing in the network sharing settings. |
| macOS | System Settings → General → Sharing → File Sharing. Add the folder and allow guest users to connect. |
| NAS / Linux (Samba) | Create a share with guest access enabled (often called “guest ok” or “public”). |
Find the computer’s IP address in its network settings. The share address you will enter in LiveMarks has this form:
\\192.168.x.x\LiveMarks
Set up the share in LiveMarks#
- Open Settings from the main screen and go to Network.
- Turn on Enable network share.
- Choose a share slot (Share 1, Share 2 or Share 3), give it a name such as Studio or NAS, and enter the UNC path, for example
\\192.168.x.x\LiveMarks. - Enter the Import Folder: the name of the subfolder LiveMarks should read from, for example
Import. Use only the folder name, without/,\or dots. - Tap Test Connection. You should see Share accessible (read+write) and Import folder accessible (read).
With several shares configured (for example studio computer and NAS), use Set as active to choose which one is used for import, and Test All Shares to check them all at once.
Import from the share#
- Bounce or copy audio files into the
Importfolder on your computer. - In LiveMarks, open the library or a project, tap Import and choose Import from Fileshare.
- LiveMarks lists the audio files and LiveMarks ZIP exports in the folder, with total size and available storage on the phone. Select files, or use Select all.
- Tap Import Selected. Turn on Overwrite existing if you are replacing older versions with the same name.
The import runs in two phases: Download from Network, then Process & Save to Library, where loudness is measured for level matching.
Restore a backup
Select a LiveMarks ZIP export in the list and tap Import ZIP Export to restore files and markers. From the main screen you can also use Restore All Projects from Share.
You can’t mix audio files and ZIP exports in the same import. Select one type at a time.
Export to the share#
- WAV with markers: select WAV files, choose Export WAV with Markers and pick Network Drive (SMB). See WAV with Embedded Markers.
- Project export: use Export and choose the network drive. Pick Markers only or Include audio files.
- Without ZIP: turn on Copy files without ZIP to copy the files directly into the share instead of packing them into one ZIP file.
- Several shares at once: arm more than one share as a target, and LiveMarks exports to all of them in one go, for example to your studio computer and a NAS backup.
Troubleshooting#
| Message or problem | Try this |
|---|---|
| Share not accessible | Check the IP address and share name, that both devices are on the same network, and that guest access is allowed. Use the IP address, not the computer name. |
| Share accessible (read only) | Import works, but export needs write access. Give Everyone / guests write permission on the folder. |
| Import folder not accessible | Check that the subfolder exists inside the share and that the name in LiveMarks matches exactly. |
| No audio files found | Make sure the files are in the import subfolder, not in the root of the share. |
| SMB disabled due to network change | LiveMarks switches the share off when you change Wi-Fi network, for safety. Turn it on again when you are back on your own network. |